| There is a problem right now with this block. |
|
3-1. a. - Update (June 26, 2009)
|
a. - Update (June 26, 2009)
2009 Wheelhorse Show - Arendtsville, PA
| Update (June 26, 2009): Took the day off from restoration in order to attend the 2009 Wheel Horse Show in Arendtsville, PA. Besides, I have a metric Shit-Ton of red parts drying and it's hard to move around the shop. The show proved to be a great experience and was the most enjoyable and informative I've taken in a long time. The shows fairground is located only 2 hours west of my home, so it was not a very long trip. I had the opportunity to look at, and photograph, several RJ58's; speak with many RJ58 owners; and come away with a wealth of information and several ideas which will be incorporating into my RJ58 restoration. These "enhancements" are listed below. |
| |
|
|
|
1) Foot Peg Covers:
In order to keep the paint from wearing off the foot pegs, several of the RJ's present at the 2009 WH show had 3/4" ID clear tubing installed over the foot pegs. This was not done on any of the machines I looked at, but cutting the tubing slightly longer than the exposed painted metal footrest will protect the ends of the shaft as well. Credit goes to Duke from the Red Square board for this idea, found on his RJ35.
|
|
Duke's RJ35
(Re: #1, 2, 3 & 4)
|
|
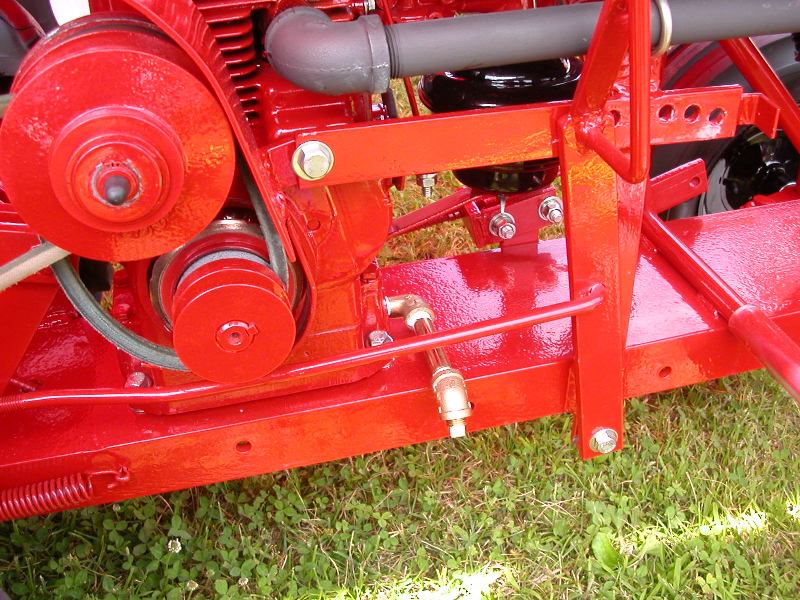
2) Engine Oil Drain Piping:
Duke also has custom fitted brass tubing, elbows, and drain plug (and highly polished, mind you) installed on his RJ35 to keep engine oil off the machine during an oil change. Great "enhancement", and looks good too! Piping exits the engine and makes a 90° turn to the right, goes to the side of the frame where it makes a 45° turn down, and has a drain plug installed in the end of the 45° elbow. I suppose an RJ58 could go out the engine and 90° straight down due to the split frame rails, but going off the side makes for a lot of "bling" gold color to offset the red. Very nice job Duke.
|
|
|
| |
|
|
|
3) Stainless Steel Washers:
Several machines had S/S washers installed where none previously existed coming from the Wheel Horse factory. This was not restricted to RJ's, but was seen on several vintage machines at the show. The example which comes to mind here (for the RJ58) is on the Clutch Rod where it mounts to the Clutch/Brake Pedal. Older style Rods (I believe early 1958 serial numbers) had no washer welded to the inside of the rod end, older versions did have this welded washer installed. Either way, the cotter pin is installed in the end of the rod and is otherwise free to scrape against the side of the Clutch/Brake Pedal. The same for the welded washer on the shaft end. Installing a S/S washer in front of the welded washer, installing the rod end into the Clutch/Brake Pedal, another S/S Washer, then install the S/S Cotter Pin. At least one RJ at the show had S/S washers installed between the Clutch Brake Pedal and the Cotter Pin to prevent the scratching. I also thought it looked more "finished" when done in this manner.
|
|
Marlin Byers RJ58
(Re: 3, 4 & 7)
|
| |
|
|
|
4) Stainless Steel Hardware:
Almost every RJ58 at the show (if not all of them, and not just the RJ's) had many Stainless Steel hardware parts installed. The stainless will not rust if properly waxed and maintained, and therefore will not corrode or damage the underlying painted surfaces like standard steel would over time. This is the same idea I had, and it just makes sense to keep the machine as pristine as possible over the long-haul. I will go a step further and install S/S on everything that I can, rather than use any standard steel parts. S/S Zerk Fittings with black or red Cap Covers comes to mind right away.
|
|
|
| |
|
|
|
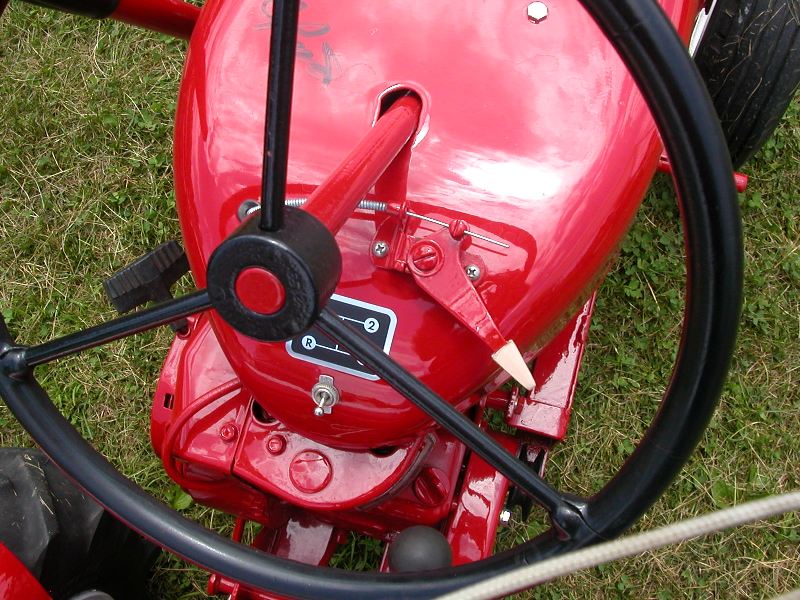
5) Clear Coating:
I really have not made up my mind on this one yet. I saw several RJ58's with some or all of the machine clear coated. My original intention was to return the machine to "factory original" status, but I also thought about clear coating the Hood, Seat and Belt Covers. After seeing several of the all-over clear coated RJ's, I'm not sure anymore. As time goes on I'll determine which way I will go.
|
|
Marlin Byers RJ58 (Re: 5)
|
| |
|
|
| 6) Teflon Washers: One machine (and I don't think it was an RJ) had appropriately sized Teflon washers installed between adjacent moving parts. The example which comes to mind immediately for the RJ is, between the Frame and Attachment Lift Handle, between Attachment Handle and Clutch/Brake, and between Clutch/Brake and Shaft Collar (that's three added Teflon washers for the left foot peg). Adding the washers reduces part-to-part wear, and saves the paint from chipping off both parts. I'm sorry I can't remember who's machine I saw this on, and did not get a picture of it. Red overload I guess. |
|
|
| |
|
|
|
7) Transport Tie-Downs:
Marlin Byers had two stainless steel eye bolts with fender washers and two nuts each installed on his RJ58 who's purpose had me baffled for a while. When I asked why they were there, Marlin explained that those eye bolts are mounted in holes normally used for deck installation/attachment (which he does not have installed due to a front-end Reel Mower which is installed) and he uses the eye bolts as strap attachment points while transporting the machine on a trailer. This precludes scratching paint with tie-down straps across any of the surfaces. Credit goes to Marlin Byers for this idea, which is found on his RJ58.
|
|
Mikes RJ (Re: 8)
|
| |
|
|
|
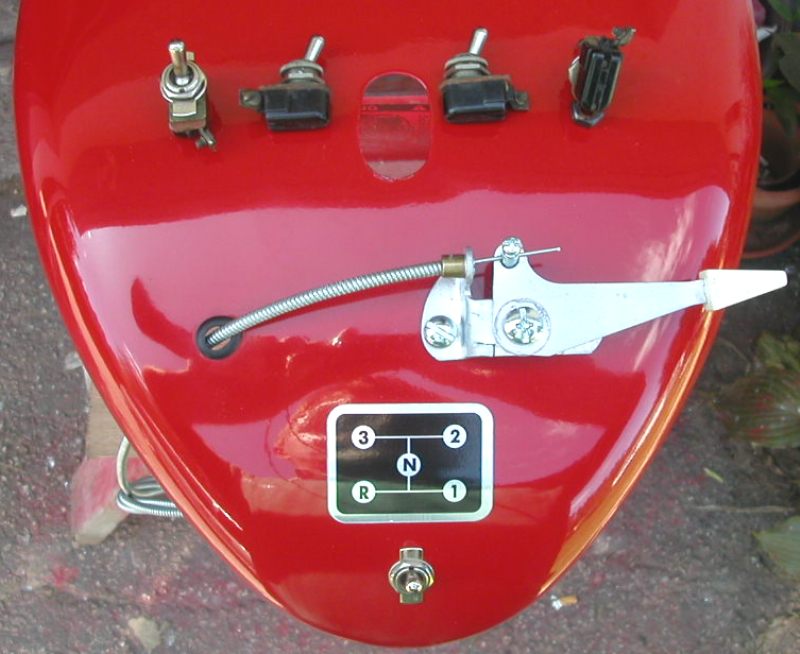
8) Rubber Throttle Cable Grommet:
This is another longevity promoter and pain-saver. One RJ machine had a rubber grommet installed where the throttle cable passes through the hood. It wasn't there from the factory, but it beats hell out of repainting the hood should the paint get chipped. Credit for this idea goes out to Marlin Byers', which was found on his RJ58.
|
|
Marlin Byers RJ58 (Re: 8)
|
| |
|
|
|
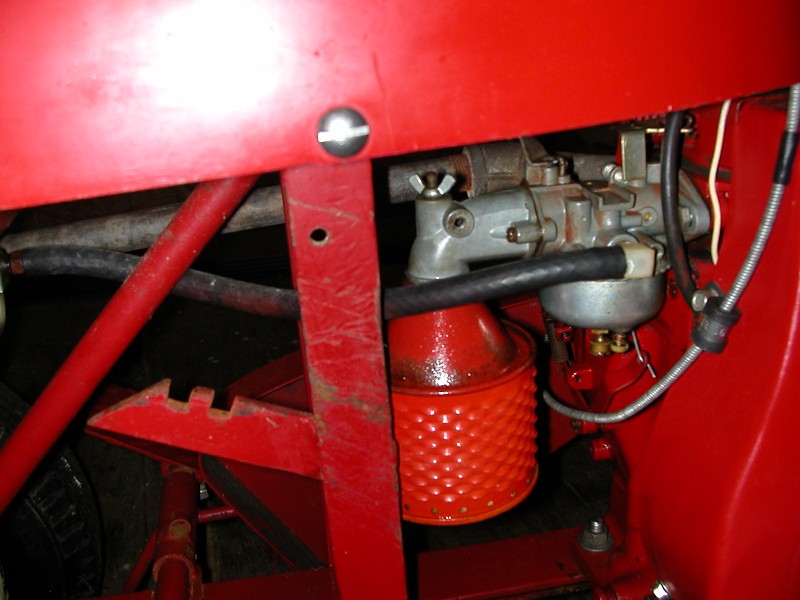
9) Rubber Hosing Over Metal Throttle Cables:
Charlie's RJ58 has short rubber tubing pieces over the metal throttle cable where it would otherwise rub against the painted engine shroud. Another paint saving tip. It's a good idea.Credit for this one goes to "CharliesD250" from the Red Square board.
|
|
Charlies RJ58 (Re: 9)
|
| |
|
|
|
10) Wheel Horse Red Paint Choices:
Almost all of the restorers I spoke to at the show do one of two things concerning restoration red paint choices. Either they pay the high-dollar cost of custom mixed, automotive quality, paints matching a formula specific to their vintage year machine; or they use Valspar Restoration Series - Tractor and Implement Finish - "IH RED" (aka "International Harverster RED", paint code 3344). They purchase either by the can and thinned for spraying, or straight out of the rattle spray can. One advantage is that the Valspar canned paint and the rattle can paint are nearly identical so either can be used to touch-up the other. The Valspar IH Red is a near perfect match for early (pre-'73, I believe) tractors, and since I use the rattle can to paint the parts, I will keep a small can of the "paint can stuff" around (highly thinned of course) for touch-up.
|
|
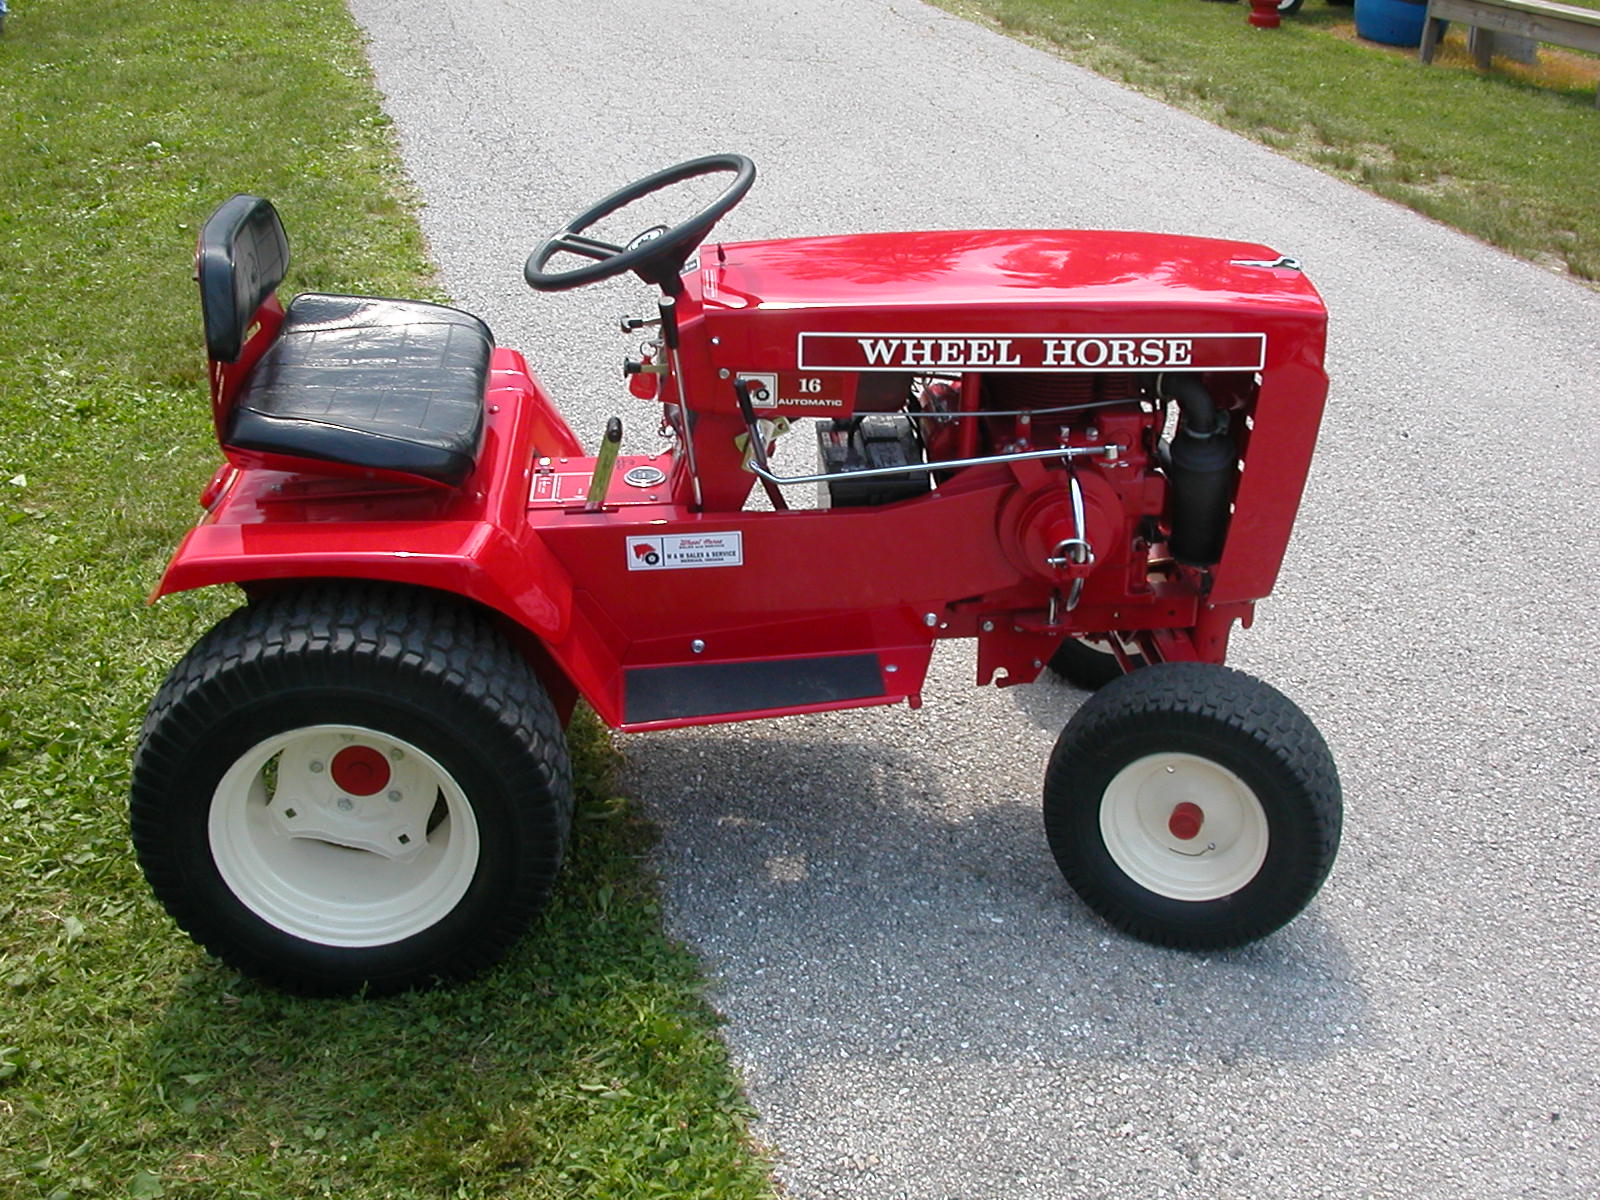
Vic McNeal's 16 (Re: 10-11)
|
| |
|
|
|
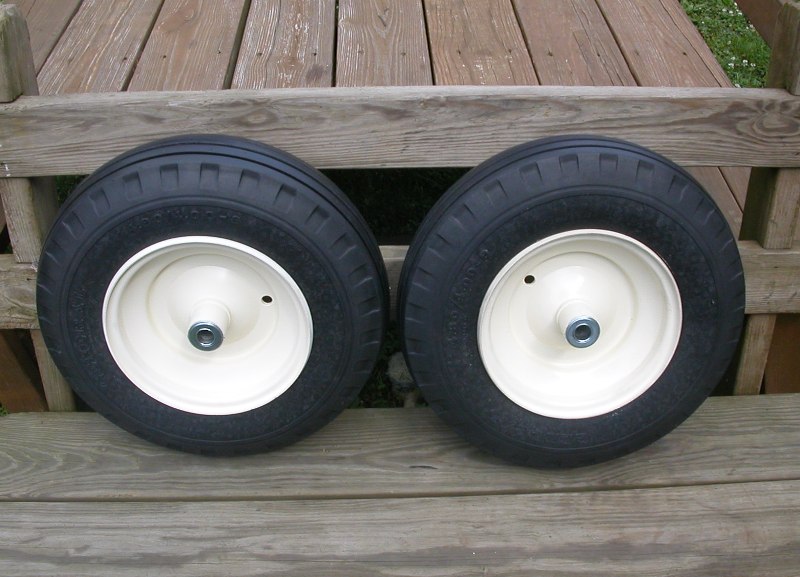
11) Wheel Horse "Linen" Wheel Color:
The wheel color is another story. I saw almost as many "linen" wheel colors as I did tractors. "Linen", in terms of a Wheel Horse color, is NOT white. It is an off-white, much like an almond or beige color with a bit more yellow. One tip gleaned from Vic McNeal, and one I've tested myself (see the test later on in this article), is that from a rattle can, you can hardly get a closer match than using Sherwin-Williams - Controls Rust - "Antique White". As of right now (and this restoration), my colors of choice (this is aside from the excellent color match to the original Wheel Horse colors) are firmly invested in the Valspar IH Red and Sherwin-Williams Antique White. Why? Because both paints have; 1) Excellent spray coverage and rust protection; 2) both flow out (or level) very well; 3) both dry exceptionally hard, thin, and glossy; 4) both are easy to find; and 5) and both are relatively low cost compared to other paint options.
|
|
Mikes RJ (Re: 11)
|
| |
|
|
|
I picked up a lot of great advice at the show from the likes of Vic and Dick McNeal, Duke, and the Byers Family; as well as the rest of the RJ owners I talked to and by looking at their great machines. Priceless information was gladly given from those RJ owners, while I attempt to stumble through my first-ever RJ58 tractor restoration. Thank you all for your patience and sage advice.
I would like to say a special thank you to Charlie ("CharliesD250", from the Red Square Board) for his assistance in finding a 1611 Drive Pulley. Charlie happened by, and while discussing parts I said I could not find a replacement for my broken 1611Drive Pulley. Charlie remembered seeing two at a single vendor, after I'd gotten dirty for over two hours digging through 10 vendors wares, and was about to leave the show. Thank you Charlie for your superb parts spotting eye and good memory. Your assistance is greatly appreciated.
I purchased an RJ58 Model/Serial Number Tag from Ed Mayhew of Mayhew's Reproductions (http://home.att.net/~jnem3/pics/MayhewDecals.htm), who makes the best reproduction decals you'll find. He also happens to be the Licensed Toro reproduction decal supplier, and can readily make any decal you can document. I also found a replacement 1611 Drive Pulley, a rear wheel lug-nut (which matches the five I already have), and a Shifter Boot.
|
rn
|
Last Updated: 2023-02-12 15:55:41 (15715 views)
|
|


 Previous